How to Change Your User Account Picture in Windows 7
|
Directions
| These are hidden locations. Accounts Default Picture Location CODE All - Default Pictures C:\ProgramData\Microsoft\User Account Pictures\Default Pictures Standard - Administrator C:\ProgramData\Microsoft\User Account Pictures\user.bmp Guest C:\ProgramData\Microsoft\User Account Pictures\guest.bmp Here's How: 1. Open the Start menu, and click on your user picture. (see screenshot below) 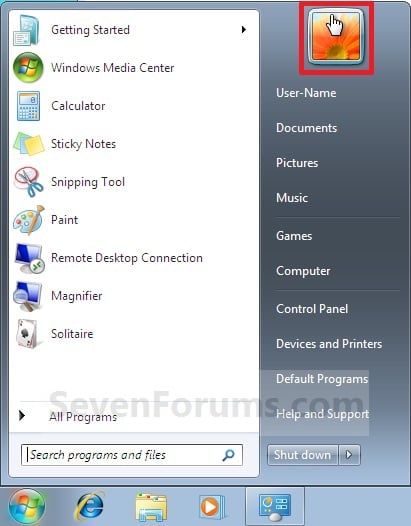 A) Go to step 3. OR 2. Open the Control Panel (All Items view), and click on the User Accounts icon. A) Click on the Change your picture link. (see screenshot below) 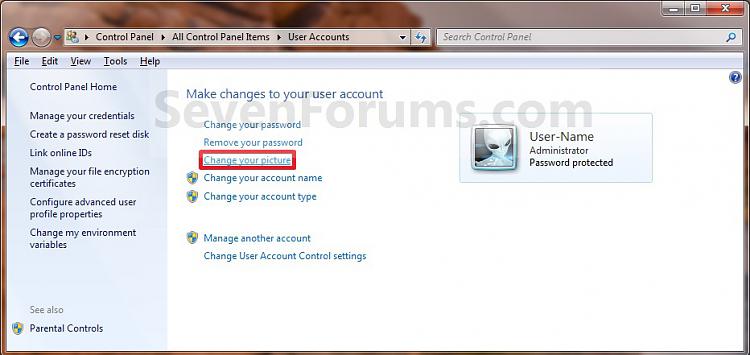 3. Select a picture from the default Windows 7 pictures, or click on the Browse for more pictures link and navigate to a image of your own to use instead. (see screenshot below)  A) Click on the Change Picture button. (see screenshot above) That's it, Shawn  Source : http://www.sevenforums.com/tutorials/5187-user-account-picture-change.html Source : http://www.sevenforums.com/tutorials/5187-user-account-picture-change.html |